
Affordable Home Care

Painting Interior Walls: What Homeowners Get Wrong Before the Roller Touches the Wall

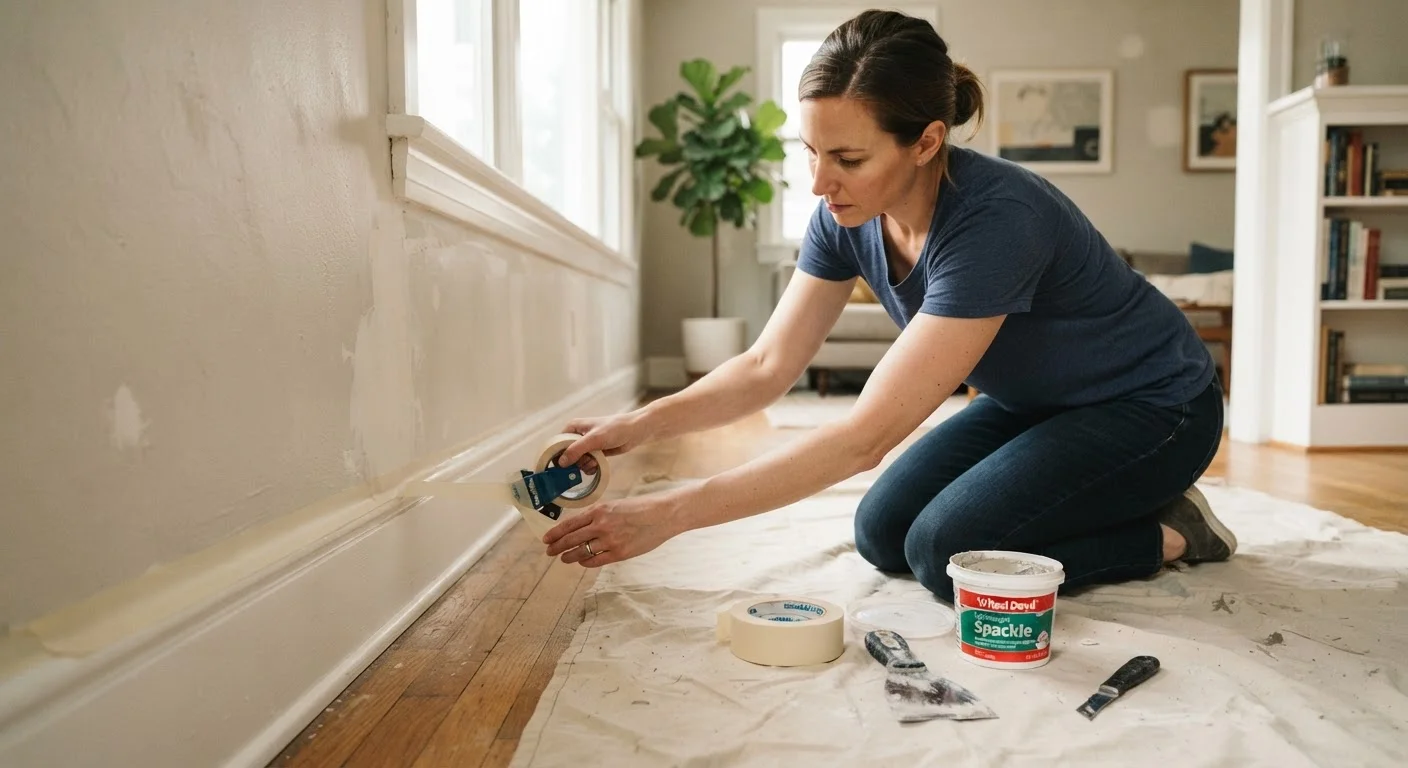
Painting Interior Walls: What Homeowners Get Wrong Before the Roller Touches the Wall

Photo: connectedsearches.com editorial

Poor prep is the most common reason a DIY paint job looks amateur or fails early. Learn the steps that make the real difference in results.

Key Takeaways

  • Skipping wall cleaning is the single fastest way to guarantee poor paint adhesion.
  • Unprimed patches and bare drywall absorb paint unevenly, leaving visible dull spots.
  • Caulking gaps between trim and walls before painting gives a finish that reads as professional.
  • Rushing dry times between coats causes peeling, color inconsistency, and wasted paint.
  • Proper masking and drop cloths cost very little compared to cleaning up overspray or drips.

Why prep determines the outcome

Most DIY paint jobs that look rough or start peeling within a year share one cause: the wall surface was not ready when the roller hit it. Paint does not hide problems. It locks them in. A clean, patched, primed surface costs time before you open the can, but that time is the actual work. Everything after is just applying color.

This article covers the mistakes that most commonly derail interior painting projects, why they happen, and what to do instead. If you are also dealing with cracked caulk around trim or tile in adjacent rooms, see how to assess and replace caulk before you paint those areas. And if you are new to home upkeep generally, the first-time homeowner routine upkeep guide puts painting in context with other tasks you will need to manage.

1

Skipping wall cleaning before painting.

Why it happens: Walls look clean to the eye, so homeowners assume they are ready. In reality, surfaces accumulate grease, dust, and residue that block adhesion.
How to avoid: Wash walls with a diluted solution of trisodium phosphate (TSP) or a general-purpose cleaner, then rinse with clean water and let them dry fully. Pay extra attention to kitchen walls, areas near light switches, and any surface that gets touched regularly.
2

Painting over unfilled nail holes and hairline cracks.

Why it happens: Small imperfections seem minor, and many people expect paint to fill them. Paint film is thin and follows the contour of the surface beneath it, so holes and cracks remain visible.
How to avoid: Fill nail holes with lightweight spackling compound and hairline cracks with a flexible patching compound or painter's caulk. Allow the fill to dry completely, sand flush, and spot-prime before applying finish paint.
3

Not priming bare drywall or patches.

Why it happens: Primers add a step, and many paint cans now say 'paint and primer in one,' which leads homeowners to skip a separate prime coat. Paint-and-primer products can perform adequately on previously painted surfaces but rarely seal bare compounds or fresh drywall well enough on their own.
How to avoid: Apply a dedicated drywall primer or a shellac-based spot primer to any bare compound, bare drywall paper, or repairs. Let it dry to the manufacturer's specified time before applying finish coats.
4

Rushing dry time between coats.

Why it happens: The first coat looks dry to the touch within an hour in warm conditions, so it feels ready. But latex paint needs time to cure fully, not just skin over, before a second coat bonds properly.
How to avoid: Follow the recoat window on the paint can label, which is typically two to four hours for latex paints under normal conditions. In humid or cool rooms, extend that window. Rolling a second coat over an under-cured first coat causes lifting, streaking, and uneven sheen.
5

Skipping painter's tape and drop cloths to save time.

Why it happens: Experienced painters can cut in cleanly freehand, so homeowners assume the tape step is optional. Drop cloths feel like extra setup.
How to avoid: Apply painter's tape to all trim, outlet covers, and ceiling edges before you begin. Use canvas or plastic drop cloths across floors and over furniture. The setup takes under thirty minutes per room and prevents cleanup that can take hours.
6

Leaving gaps between trim and the wall unpainted or uncaulked.

Why it happens: The gap between baseboard trim and the wall is easy to overlook, especially if it was there before the paint project started. Homeowners often assume a careful paint line is enough.
How to avoid: Run a thin bead of paintable latex caulk along the joint between trim and wall before applying the finish coat. Smooth it with a damp finger, let it dry, then paint over it. This produces a clean, sealed edge and prevents dust from collecting in the gap.

Getting the order of operations right

Even when homeowners know what each prep step is, they often sequence them wrong. Patching after priming, or caulking after the finish coat, undoes work you already did. The correct order is: clean the walls, repair holes and cracks, sand smooth, prime bare spots and patches, caulk gaps between trim and wall, then paint.

Priming deserves more attention than it usually gets. A full-wall prime is not always necessary, but spot-priming every patch is non-negotiable. Patching compound is porous. Without primer over it, the finish coat soaks in differently than it does on the surrounding painted surface, leaving a dull halo called flashing. Two coats of finish paint will not fix flashing; only primer does.

Older homes may have lead paint

Homes built before 1978 may have walls or trim painted with lead-based paint. Sanding or scraping lead paint creates hazardous dust. If your home was built before 1978 and you are unsure whether lead paint is present, use an EPA-approved test kit before sanding. Consider consulting a lead-safe certified contractor for any work that involves disturbing old paint layers. The EPA's Renovate, Repair, and Paint (RRP) rule covers requirements for work in pre-1978 homes.

One more sequencing error: painting over glossy surfaces without scuff-sanding first. Glossy finishes, whether old paint or factory-finished trim, give new paint almost nothing to grip. A light sand with 120-grit paper breaks the sheen and lets the new coat bond. This step adds twenty minutes to most rooms and prevents peeling that would otherwise show up within a season.

Affordable Home Care Editorial Team

connectedsearches.com

Affordable Home Care Editorial Team is the collective byline for our editorial team and contributor network. Articles published under this byline or an editorial pen name are researched, written, and reviewed according to our editorial standards for clarity, consistency, and independence before publication.

Affordable Home Care
View author profile

The content provided on our blog site traverses numerous categories, offering readers valuable and practical information. Readers can use the editorial team’s research and data to gain more insights into their topics of interest. However, they are requested not to treat the articles as conclusive. The website team cannot be held responsible for differences in data or inaccuracies found across other platforms. Please also note that the site might also miss out on various schemes and offers available that the readers may find more beneficial than the ones we cover.