
Grout, Caulk, and Tile Repair: Keeping Bathrooms and Kitchens Looking Fresh

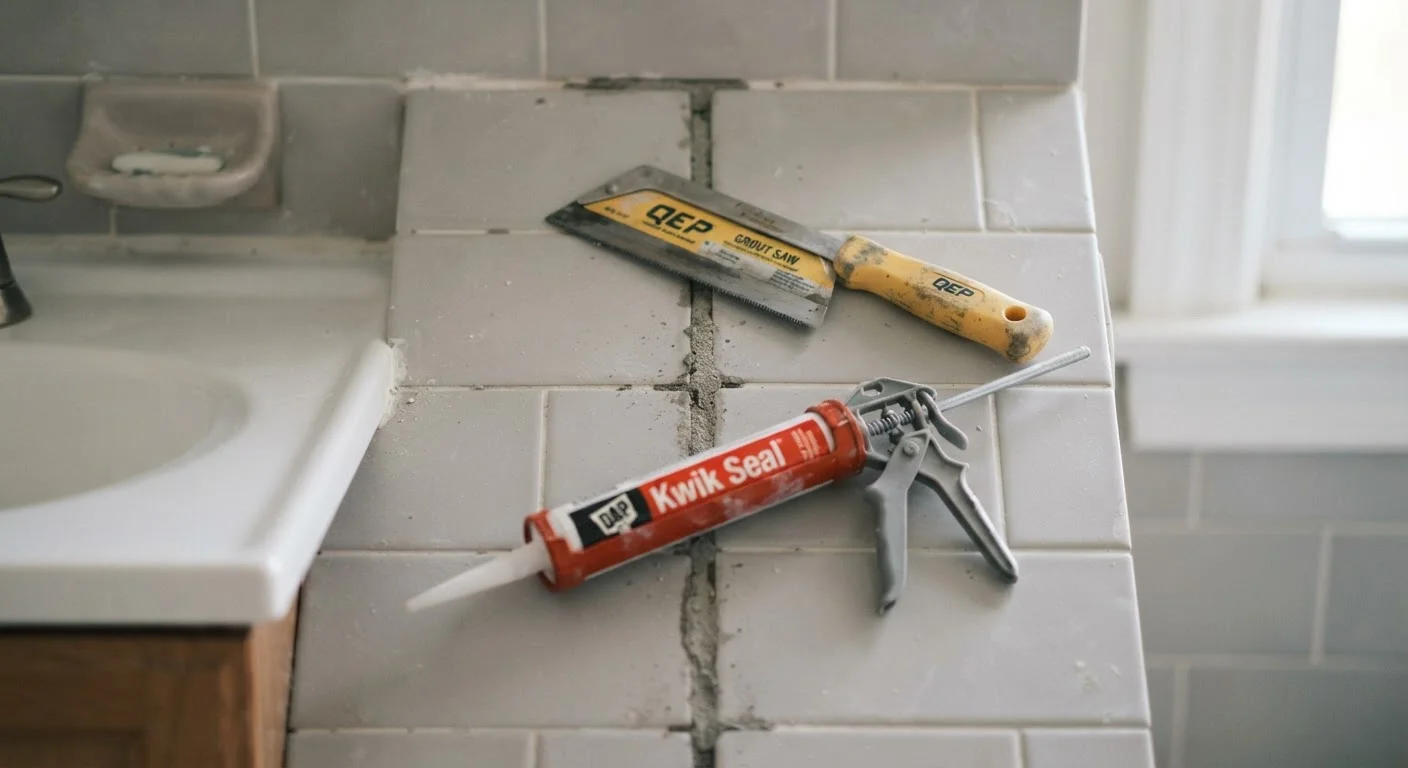
Photo: connectedsearches.com editorial
Key Takeaways
- Cracked or missing grout lets water reach the substrate and cause structural damage over time.
- Caulk, not grout, belongs at corners and transitions where two surfaces meet at an angle.
- Removing old material thoroughly is the step most DIYers skip, and it causes early failure.
- Most grout and caulk repairs cost under $30 in materials when done without a contractor.
- Silicone caulk resists moisture better than latex in wet zones such as tub surrounds and sinks.
Why grout and caulk fail, and what it costs to ignore them
Grout and caulk do different jobs. Grout fills the gaps between tiles and is rigid once cured. Caulk seals the joints where two surfaces meet at an angle, such as where a tub meets the wall or where a backsplash meets a countertop. Caulk stays slightly flexible so it can absorb the small movements that occur as a house shifts with temperature and humidity changes.
Both materials degrade over time. Grout can crack from settling, from impact, or simply from age. Caulk peels, shrinks, and grows mold when it is exposed to constant moisture without regular maintenance. When either one fails, water gets behind the tile and into the substrate, which is typically cement board or drywall. Wet substrate leads to mold, rot, and eventually loose tiles that require full removal and replacement. A tube of caulk that costs a few dollars can prevent a repair bill that runs into hundreds or more.
This repair is well within reach for most homeowners. For context on which jobs cross the line into professional territory, see our practical guide on DIY vs. hiring a pro.
What you will need before starting
Gather all materials before touching the existing grout or caulk. Stopping mid-repair to locate a tool leaves open joints exposed to moisture.
What you will need
Grout saw or oscillating multi-tool with grout blade
Removes old grout from joints without cracking surrounding tiles.
Utility knife
Cuts away old caulk beads along tub edges, countertop joints, and corners.
Caulk remover tool or plastic scraper
Lifts residual caulk from surfaces without scratching tile or fixtures.
Caulk gun
Provides controlled, even pressure when applying a new caulk bead.
Grout float
Presses mixed grout into joints and removes excess from the tile surface.
Bucket, sponge, and clean water
Cleans grout haze from tile faces during and after grouting.
Penetrating grout sealer
Seals cured grout to slow moisture absorption and reduce staining.
Step-by-step: removing old grout and caulk
Preparation is the most important phase of this repair. New grout or caulk applied over old, deteriorating material will fail within months.
Assess the damage before removing anything
Walk the full perimeter of the tub, shower, or sink. Press on tiles gently to find any that flex or feel loose. Check grout lines for cracks, crumbling sections, or gaps where grout is missing entirely. Mark problem areas with painter's tape so you do not miss them once you start working.
If tiles are loose, the substrate underneath may already be wet or damaged. Continuing a surface-only repair on a damaged substrate will not solve the problem. In that case, consult a tile contractor before proceeding.
Remove damaged grout
Use a manual grout saw or an oscillating tool with a grout removal blade to cut out cracked or crumbling grout. Work slowly along the joint center to avoid nicking the tile edges. Remove grout to a depth of at least 1/8 inch so the new grout has enough material to bond. Vacuum or brush loose debris from the joints when finished.
Cut out old caulk
Score along both edges of the old caulk bead with a utility knife, then peel it away. Use a plastic scraper or caulk removal tool to lift any remaining residue. Wipe the joint with rubbing alcohol on a cloth to remove soap film and grease, which prevent new caulk from bonding. Allow the surface to dry completely, at least one to two hours in a ventilated space.
Clean and dry all surfaces
Wipe down all joints and the surrounding tile with a damp cloth, then let everything dry thoroughly. If you are working in a shower or tub area, leave the space unused overnight before applying new materials. Moisture trapped under grout or caulk is a primary cause of premature failure.
Applying new grout and caulk correctly
Correct application technique determines how long the repair lasts. Grout that is packed too loosely or caulk applied over a damp surface will both fail early.
When the joints are clean and dry, mix unsanded grout (for joints under 1/8 inch wide) or sanded grout (for wider joints) to the consistency of peanut butter. Press it into the joints with a grout float held at a 45-degree angle, working diagonally across the tiles. Remove excess grout from the tile face within about 15 minutes using a damp sponge, rinsing frequently. Let the grout cure for the time specified on the product packaging before exposing it to water.
For caulk at corners and transitions, cut the tube tip at a slight angle to match the joint width. Apply steady, even pressure while drawing the tube along the joint in one continuous pass. Smooth the bead immediately with a wet fingertip or a caulk tool. Silicone caulk is the better choice in wet zones because it does not absorb water, but it requires a clean, dry, grease-free surface to bond properly. Do not use the shower or sink for at least 24 hours after applying silicone, or check the product label for the specific cure time.
Sealing grout after it cures adds a layer of protection in high-moisture areas. A penetrating grout sealer, applied with a small brush or applicator bottle, reduces staining and slows moisture absorption. Re-apply sealer roughly once a year in heavily used bathrooms. For more on sealing other areas of the home, see our guide on caulking and sealing to cut energy costs.
The content provided on our blog site traverses numerous categories, offering readers valuable and practical information. Readers can use the editorial team’s research and data to gain more insights into their topics of interest. However, they are requested not to treat the articles as conclusive. The website team cannot be held responsible for differences in data or inaccuracies found across other platforms. Please also note that the site might also miss out on various schemes and offers available that the readers may find more beneficial than the ones we cover.